.png?width=210&height=40&name=bleu%20et%20gris_Sigle+logo%20SBO%20(4).png)
1. Retrieve your Wizishop access
1.1 Go to your Wizishop back office.
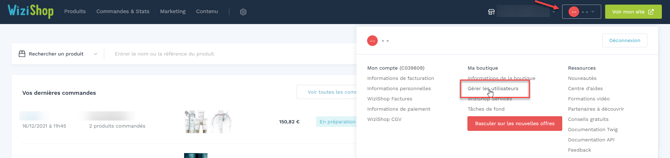
1.2 In the top right corner of the page, select the "My Shop" menu and then click on "Manage Users":
1.3: Click on Add a user:

1.4: Please provide the required information:
-
Identifier (which you can choose)
-
e-mail address
-
first name
-
name
-
etc
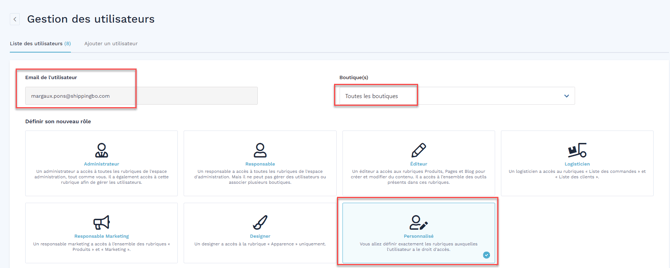
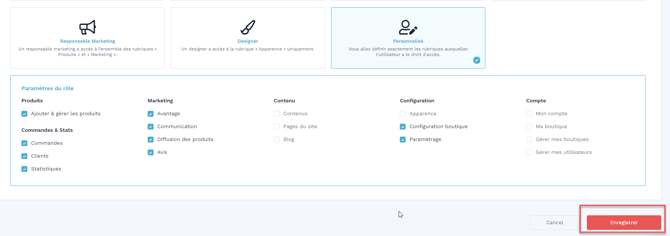
📢Attention :
Make sure you select the correct role Administrator.
1.5: Once the user is created, an email containing the API access details will be sent to the provided address.
To retrieve shop information, log in to this page:https://api-doc.wizishop.com

2. Create an external service in Shippingbo and complete the requested information.
Discover our connection process to follow in our tutorialhere.
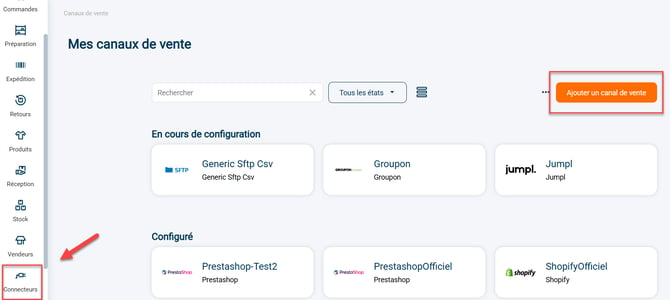
2.1: Go to your Shippingbo interface to create your external service in the menu Connectors -> Click on Add a sales channel :
2.2: Search "Wizishop" in the search bar, then click on the Shopify tab that appears:
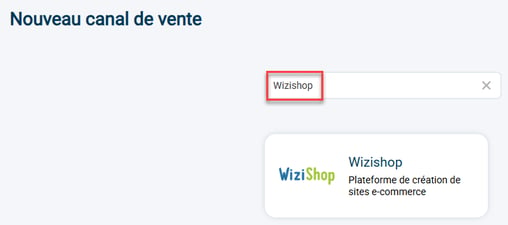
2.3:Your connector opens and the first category appears:

1) The stylus to the right of the service allows you to change the name of your connector.
2) The "View help" button redirects you to this tutorial.
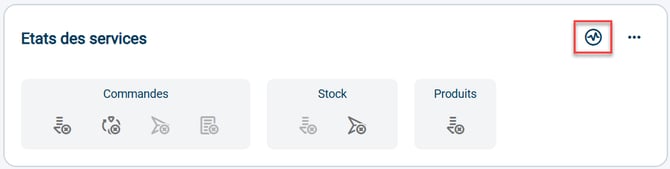
3) The graphic icon allows you to verify the validity of the connection between Shippingbo and your Wizishop store.
4) The blockOrdersinforms you about the functionalities that are enabled, disabled or unavailable between your Shippingbo account and your Wizishop store at the order level: order retrieval, order closing, order sending, order acceptor.
5) The blockStockinforms you about the features that are enabled, disabled or unavailable between your Shippingbo account and your Wizishop store at the stock level: stock retrieval, stock sending.
The color code for the icons is as follows:
- Active features are shown in blue
- Dark grey indicates features that are disabled but available
- Features shown in light grey are unavailable
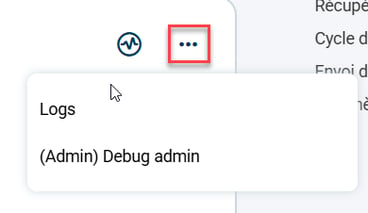
2.4: By clicking on the 3 small dots to the right of the graphic icon, you will be able to access calls made with this service:
3. Enter access details and activate options
3.1: Enter the requested information in the block General settings :
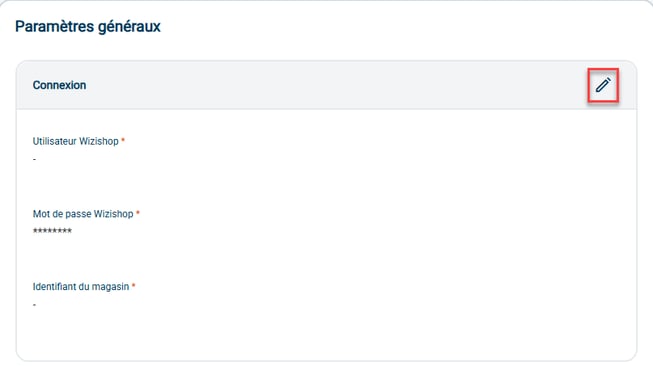
3.2: Next, enter the rest of the information you need in the following sections: Order retrieval; Order closing; Stock sending; and even in Advanced settings.
📢Attention :
To enable command retrieval, click the arrow to the right of the category:

💠 Noticed :
You can remove this connector by going to the advanced settings and clicking on "Remove connector" in the blockDeletion :

⚒️ Recommendation:
Before fully using the functionality described in this tutorial, it is strongly recommended to performa testing phasefollowing your own parameters to verify that the result meets your expectations. The remaining customerfully responsibleThese tests, based on actions performed on the Shippingbo account, are essential to ensure the tool can be used with complete peace of mind.
📢Attention :
Only direct connections Sales channels allow Shippingbo toguarantee control of flowsWhen orders are not retrieved via an official Shippingbo connector, but are routed through a third-party tool (intermediate CMS, external connector, FTP, manual or automated import), Shippingbo cannot guarantee the integrity, reliability or completeness of the transmitted data.
This data may be modified, truncated, reformatted or duplicated before being received in Shippingbo, leading to processing errors, duplicate orders, status inconsistencies, label blocks, carrier or customs anomalies, and a degradation of the final customer experience.
In this context, Shippingbois unable to investigate or correct anomaliesissues from the third-party system. Any anomaly related to upstream data is outside the scope of Shippingbo's responsibility (more information on the scope of support).hereThese investigations can only be carried out as part of a specific service and will be subject to a charge.
For all these reasons, it is strongly recommended to connect your sales channels directly to Shippingbo via the official connectors.